Dragon Tools
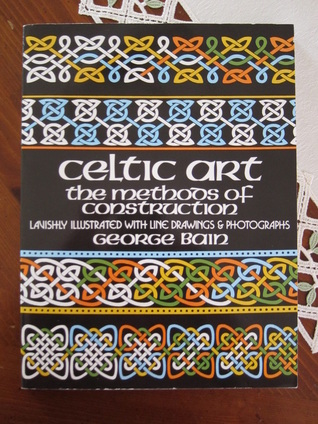
Great Celtic knot and art resource!
Making Your Own Light Box
In light of our own shop doing it's best to improve our item photographs we stumbled across this tutorial on how to make your own light box to photograph small items. The original creator of this tutorial has given us permission for it to be posted in Dragon Tools.
HOW TO MAKE A PHOTO BOX
I GIVE PERMISSION TO COPY THIS PAGE AND
POST IT ON YOUR SITE...
I wanted to share my knowledge on how to take good photos of jewelry
and other small objects. I created a "Photo Box" which is easy to
construct and use! I've noticed that a lot of people (in general)
could use this method I use.
ITEMS YOU NEED
12x12x12 box
14 x 10 piece of plexy glass or glass a knife
background paper (scrapbooking paper is great from craft store)
wax paper
60-100 watt light
How to put it all together:
1) Take your 12x12x12 box and cut out one side. Keep the bottom of
your box intact.
2) (open side you just cut out) Measure 9 inches from the bottom and
make a slit all the way to the back of the box on both sides. Do not
cut the back of the box.
3) Slide your glass into the slits of the box
4) Take the wax paper and tape it over the light source. The
wax paper is used to defuse the light.
5) Aim the light towards the opening of your box.
6) Lay your background on the bottom of your box as your background.
7) Shine your light into to open area of the box. Take your photos from the
back of the box... with the light facing you.
Your camera should focus on the jewelry or small object. The
background will be fuzzy due to the distance of the background from
the object.
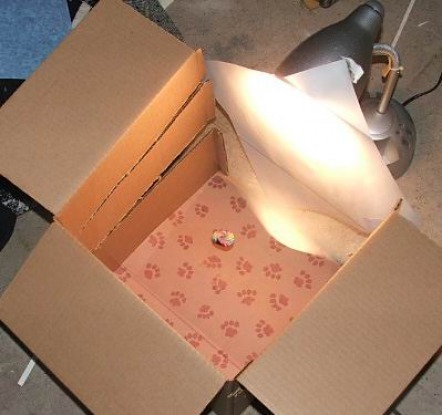
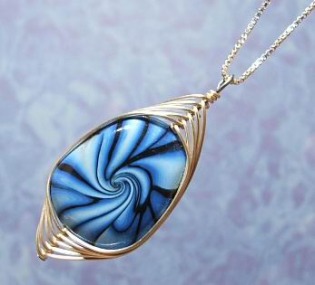
Above is a picture they took of the box they built. Below is a sample photograph of what he was able to produce with the use of his box.
All information shared in this light box tutorial was obtained from: http://www.createapendant.com/photobox.htm
The Right Tools for a Great Hex Sign
There are many factors to consider when starting to make a hex sign. The hardboard, paint, brushes and any other tools you might need. So let's get started. First on the list hardboard. Now the hardboard I use in a 3/16th inch thick 2 foot by 4 foot board. Reasons I use this board: Thin and relatively light weight, smooth surface, can be used outside and it is easy to work with (cutting). When you are selecting your hardboard make sure it is not warped. Otherwise your signs will not display the way you want them to when it is finished.
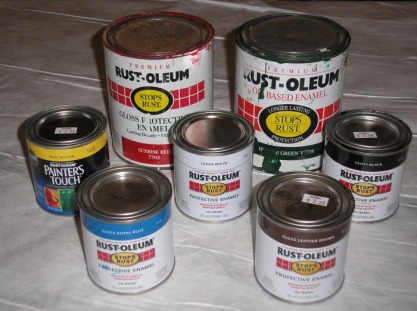
Now you need to figure out what paint to use. Remember there are some factors here you need to consider. Most of all that hex signs are designed to remain outside year round. Also consider that hex signs are in general crisp edged geometric designs. For my hex signs I use Rust-oleum Paint. It goes on smooth, is easy to work with, if you cover a large area the paint will level out as it dries, it can weather outside year round without blemish and you can "clean it" just by wiping the surface with a wet paper towel. Another key reason why I use Rust-oleum Paint is that outside normally you will use a large metal screw to anchor the sign to the side of a barn. Because the paint is rust-resistant, even if the screw should rust over time it will not damage or blemish the paint!
Painting Essentials - Great Hex Signs continued
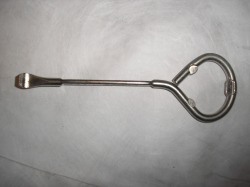
Most painters and artists will see the picture on the left and know just what that is. For a little test if you don't know what it is that means you might want to go to your local store and get one. It works more effectively than a screwdriver and your husband will thank you for never stealing his tools again. It is a paint key, or at least that is what I call it. It easily levers open paint can lids and warps them less when you open them this way - the proper way. Though I do still recommend a good hammer to shut the paint lid.
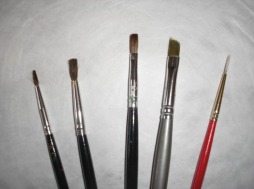
But the most basic tool for a painter are brushes. This is my basic array of brushes I use for hex signs. You will notice the widest brush I use is only 1/4 inch. That brush has a tapered tip so that I can really get into corners and make straight edges easily. The next largest brush is 1/8 inch. This brushes brissels are arranged flat, and are soft fibers to insure even and smooth strokes of paint. The remaining 3 are a series of small detail brushes needed for all of those fine points, corners, curves and tricky elements in hex signs. Now you can buy all these brushes ranging from less than $1 to more than $6 a brush. My advice is to be picky. Experiment and find what works for you and what your needs are. The three black handeled brushes came together in a 3 pack at Meijer for under $1.50. But I find myself using them the most and as long as you take care of them they will last a good long time. The other two were a bit more expensive. The red and metalic handle brushes were almost $2 each but I needed a specific size, length and type of brush. But remember prices brushes do not make a great painter or painting. How an artist can use paint with a brush to express soemthing makes a great painting.
Great Glue!
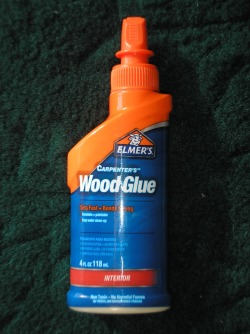
At some point or another we all come across a point where we just need that perfect wood glue. You know the one you can set joints with, add decals with, attach a felt bottom or inner liner without soaking it so it becomes hard and of course cleans up easily enough that you can take a second, wipe it off and keep working... you know that glue. Well I have found that glue! Believe it or not it is Elmer's (R) Carpenter's (TM) Wood Glue.
Here are the features I love about this glue:
Sets Fast
Bonds Strong
You can sand it or paint it
Clean up with water
No fumes
Wonderful cap that keeps glue from drying over the opening
The only draw back I have found is that you cannot use this glue to attach wood and non-porous items like plastic or metal.
Now go and have fun gluing!
Fun New Supplies
I picked up some goodies! And was given a goodie by Tricia!
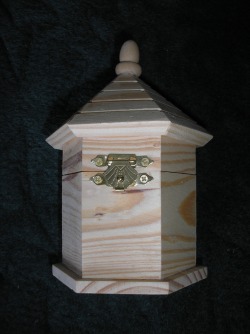
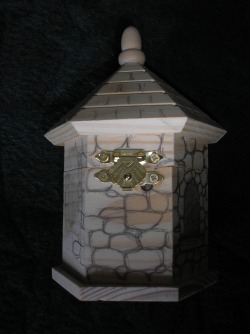
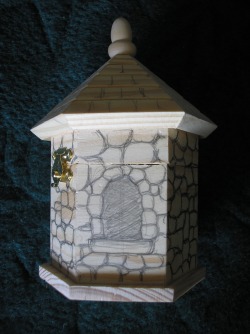
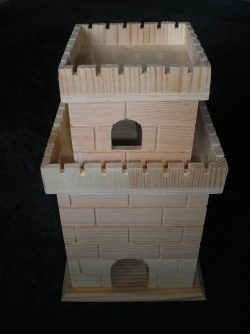
I found these small wooden boxes that I will be painting to look like small castles. One has been partially drawn to give you an idea of how it will make the transition into being a castle.
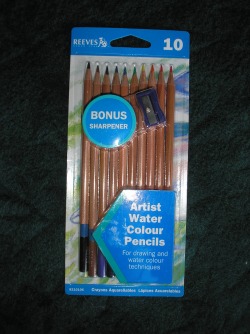
I also happened to come across a set of water color pencils. Now I have done some pieces in water color paint before so I am interested to see how working with these turns out.
Tricia gave me a miniture wooden castle for my birthday! :) So I will be playing with that soon too and will post photos of it later on as I am working on it.
Those are all of the new toys for now!